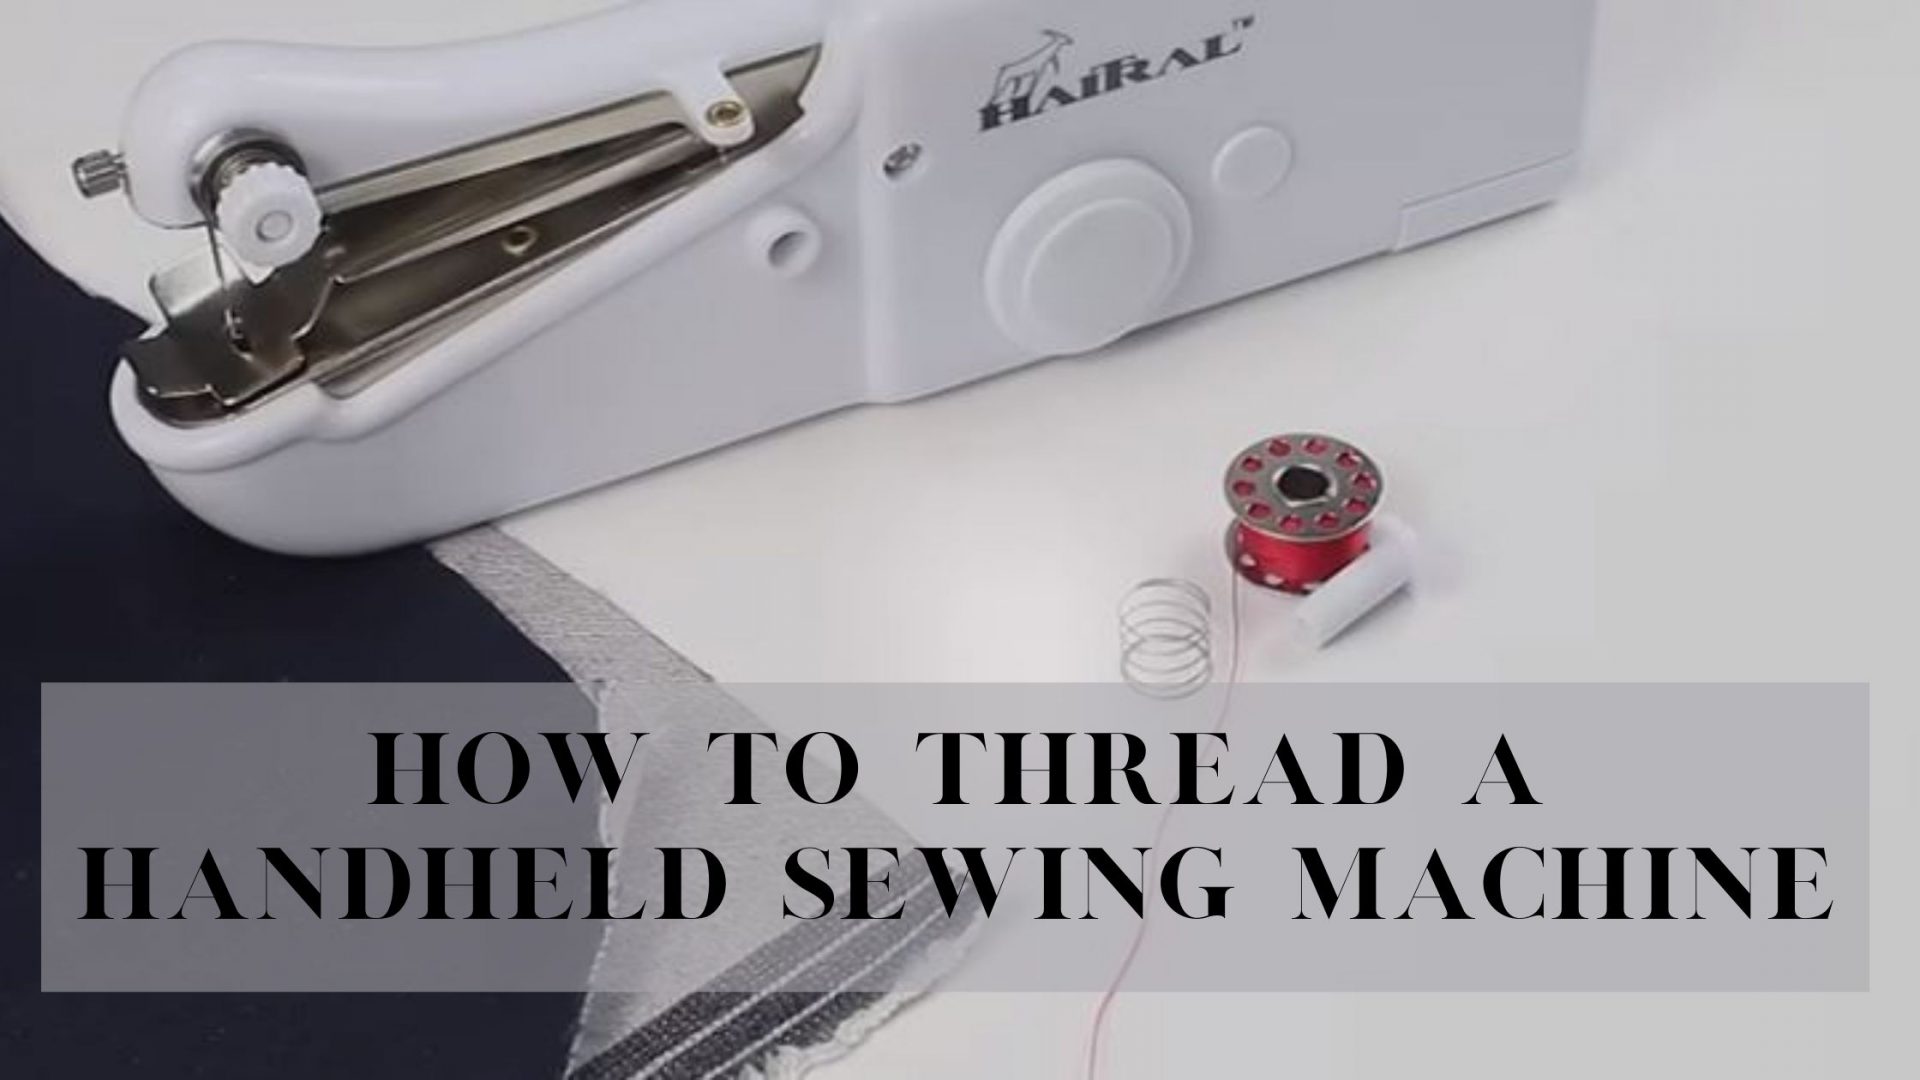
How to Thread a Handheld Sewing Machine
Threading a handheld sewing machine is an important step in making clothing for yourself or someone else. You should know how to thread a handheld sewing machine in the right way, as the stitching will not be good if you don’t do it correctly.
It is crucial to know how to use handheld sewing machine if you’ve just purchased one or are considering one. A mini handheld sewing machine is best for a person to use on the go. You may need to sew something while out on the road or in another state or country if you are frequently traveling.
A good heavy duty handheld sewing machine will prevent your clothes from ruining as they sew everything nicely. The sewing machines cost varies as per the specifications. However, threading a machine is always crucial. So let’s discuss it in detail here.
How to Thread a Handy Stitch Machine
How to Thread a Singer Handheld Sewing Machine
To thread a Singer sewing machine, you need to start by bringing the two sides of the bobbin case up. These are the parts that prick out when you open your handheld sewing machine.
To sew properly, you need to follow the threading instructions for Singer sewing machine, and you will need a few items.
The bobbin of the sewing machine holds the bottom thread of the fabric that is being sewed together. The needle of the best handheld sewing machine then pierces the fabric and makes a new stitch on top of where it just went through, allowing two pieces of fabric to be bound together.
To use the handheld sewing machine, you will need to remove the needle to open the top of the machine. You will then take your bobbin and insert it into its compartment on the bottom of the machine.
To thread a bobbin, make sure that you don’t let it go too far down where it cannot come back up. You will then take the thread and pull it through one of the holes on the bobbin above where it is inserted.
You should see a small metal piece with two sharp needles sticking out of it at an angle. That is called a shuttle or a bobbin driver, and you use that to push the top thread into place underneath the needle of the handheld sewing machine.
You will then take the bobbin driver and push it to where you can grab it with your fingers. The top thread may need to be pushed down beneath the needle.
It would be best to have all the top thread hanging down from where it pushed through underneath the needle. You will have to leave about an inch and a half or two inches of thread hanging out of that hole.
Next, you will hold both ends of the thread and put them between your fingers, with the thread hanging out of your pointer finger. You will then close the handheld sewing machine so that it is almost touching the fabric.
Your new handheld sewing machine will now be ready to thread for sewing leather or any other fabric using both threads. By putting them together, they should be able to be threaded through easily. You have to stick your fingers into that little hole and pull them through.
Your handheld sewing machine is now threaded! Now you can get a piece of scrap fabric and practice sewing to see how it works before using it on whatever you need to sew up next.
Also Check Singer Heavy Duty 4423 Sewing Machine
How to thread a Singer Stitch Sew Quick Handheld Sewing Machine
Following the steps below will help you thread Singer stitch sews quick handheld sewing machine. Make sure that you are using high-quality sewing thread. Because of the small loopers on this machine, it is very important not to use low-quality threads.
- Assemble the spool and thread it onto the machine.
- Insert the bobbin. Make sure that it is in the correct position with the up and down motion of the needle, and push it in until you hear a click.
- Make sure the thread is coming from the spool and not the bobbin.
- Pull out approximately 18 inches of thread and then cut it with scissors.
- Hold on to both threads and turn the handwheel towards you until your needle reaches the highest point.
- Pull both threads until there is a knot and a thread on each side of your needle.
- Push the lever to drop the needle down and then push it again to bring it back up to about an inch from where it dropped.
- Now that your needle is in the highest position pull on both threads until there is a knot and cut off any excess thread. You are now ready to begin sewing.
How to Thread a Mini Handheld Sewing Machine
Threading operation of a mini sewing machine can be difficult, but you can start it with these step-by-step instructions. First, thread the bobbin according to your sewing machine manufacturer’s instructions. Pull out the needle threader and place it so that the opening faces up on top of the needle.
Pull down on the white lever until you see threads coming out of both openings, then carefully pull them through one at a time. Lastly, take your threaded needle and position it in the hole adjacent to your fingers. Tie a knot on the thread to secure it and then stitch tightly against the fabric!
How to Thread a Portable Sewing Machine
Everybody asks this question: Can any sewing machine sew leather? Threading a portable sewing machine that can sew leather can be very frustrating. However, once you know how to thread one of these machines, it becomes easier and less time-consuming.
Step 1: Unscrew the needle from the front of the machine where it meets the bobbin area. The front of it is where all of the controls are located.
Step 2: Remove the needle by pulling it upwards and out of the sewing machine.
Step 3: Take your spool pin (located on top). Now, thread about an 8-inch piece of thread through the slot.
Step 4: After you’ve threaded your spool pin, tie a double knot at the end.
Step 5: Pull the needle down until the knot reaches the hole. Screw-in your needle now.
Step 6: Make sure the thread is taut. Now you are ready to sew!
Bonus step 7: To ensure that your stitches are coming out the way they should, make sure to use high-quality thread and needles. Also, try using a stabilizer.
How to Thread a Mini Portable Sewing Machine
The threading of a mini portable sewing machine is much easier than a manual leather sewing machine. You can thread the needle in just a few minutes, and you’ll never have to fight with it again.
The threading instructions are simple and don’t take much time to complete. Here, you’ll find the threading machine checklist that you must follow for this task.
- Before threading the machine, ensure that the spool of thread is on a shaft behind the presser foot when you insert it.
- If necessary, tie a knot at the end of the thread.
- Cut the other end at an angle. It may fray and get caught up on the machine as you sew if you do not cut.
- If the machine has a needle plate window, ensure it is on top (not down on the foot area).
- The procedure to threading the machine starts by threading one end and insert it into the needle. It is helpful if you turn off the machine while doing this, but it isn’t necessary. Pull about two inches of thread up through the hole in front of the presser foot.
- Keeping the tension on the thread, pull it around to the back of the machine. Do not let go of the end, or you will have to start over again.
- Thread the needle through the slot in your presser foot, above where you are sewing. Pulling both threads with equal tension, guide them through this slot until they cross.
- Gently pull the thread toward you and then to the left. The needle will take it under the presser bar and into the bobbin hole.
- Pull both threads until they are sitting next to each other in that hole. Then, guide the end (that was threaded first) back down toward you and through the slit in the needle plate.
- Make sure both ends are at equal lengths from the machine again.
- Cut both threads, but do not pull them out of the machine yet.
- Fold-down your presser foot and engage the thread by turning on your machine (if you turned it off while threading). Ideally, the bobbin thread should pass through the needle plate without tangling.
How to Thread a Sewing Machine for Beginners
Do you ever wonder how to thread a sunbeam handheld sewing machine? It is a great tool to have in your home. They allow you to sew up all of those tiny little projects that require smaller stitches than a large machine can provide. Threading these machines is not complex. Just follow the instructions in the above sections, and you are good to go.
Bottom Line!
You may be wondering how to thread your new handheld sewing machine UK. This is not easy for some, but you can do it in just a few short steps.
Threading a sewing machine is an important step that can ruin or beautify your sewing projects. Having a handheld sewing machine on hand when traveling is convenient when you don’t want to risk damaging the larger machines in transit. All the sewing machine problems and remedies are discussed here, and we are sure that you will find these tips extremely helpful.
![3 Easy Steps to Sew Canvas by Hand [Complete Guide]](https://stitchingnerd.com/wp-content/uploads/2021/12/How-to-Sew-Canvas-by-Hand-1-1-768x432.jpg)
![How to Fix Sewing Machine Stuck Handwheel [Expert’s Tips and Guide]](https://stitchingnerd.com/wp-content/uploads/2022/01/How-to-Fix-Sewing-Machine-Handwheel-1-768x432.jpg)