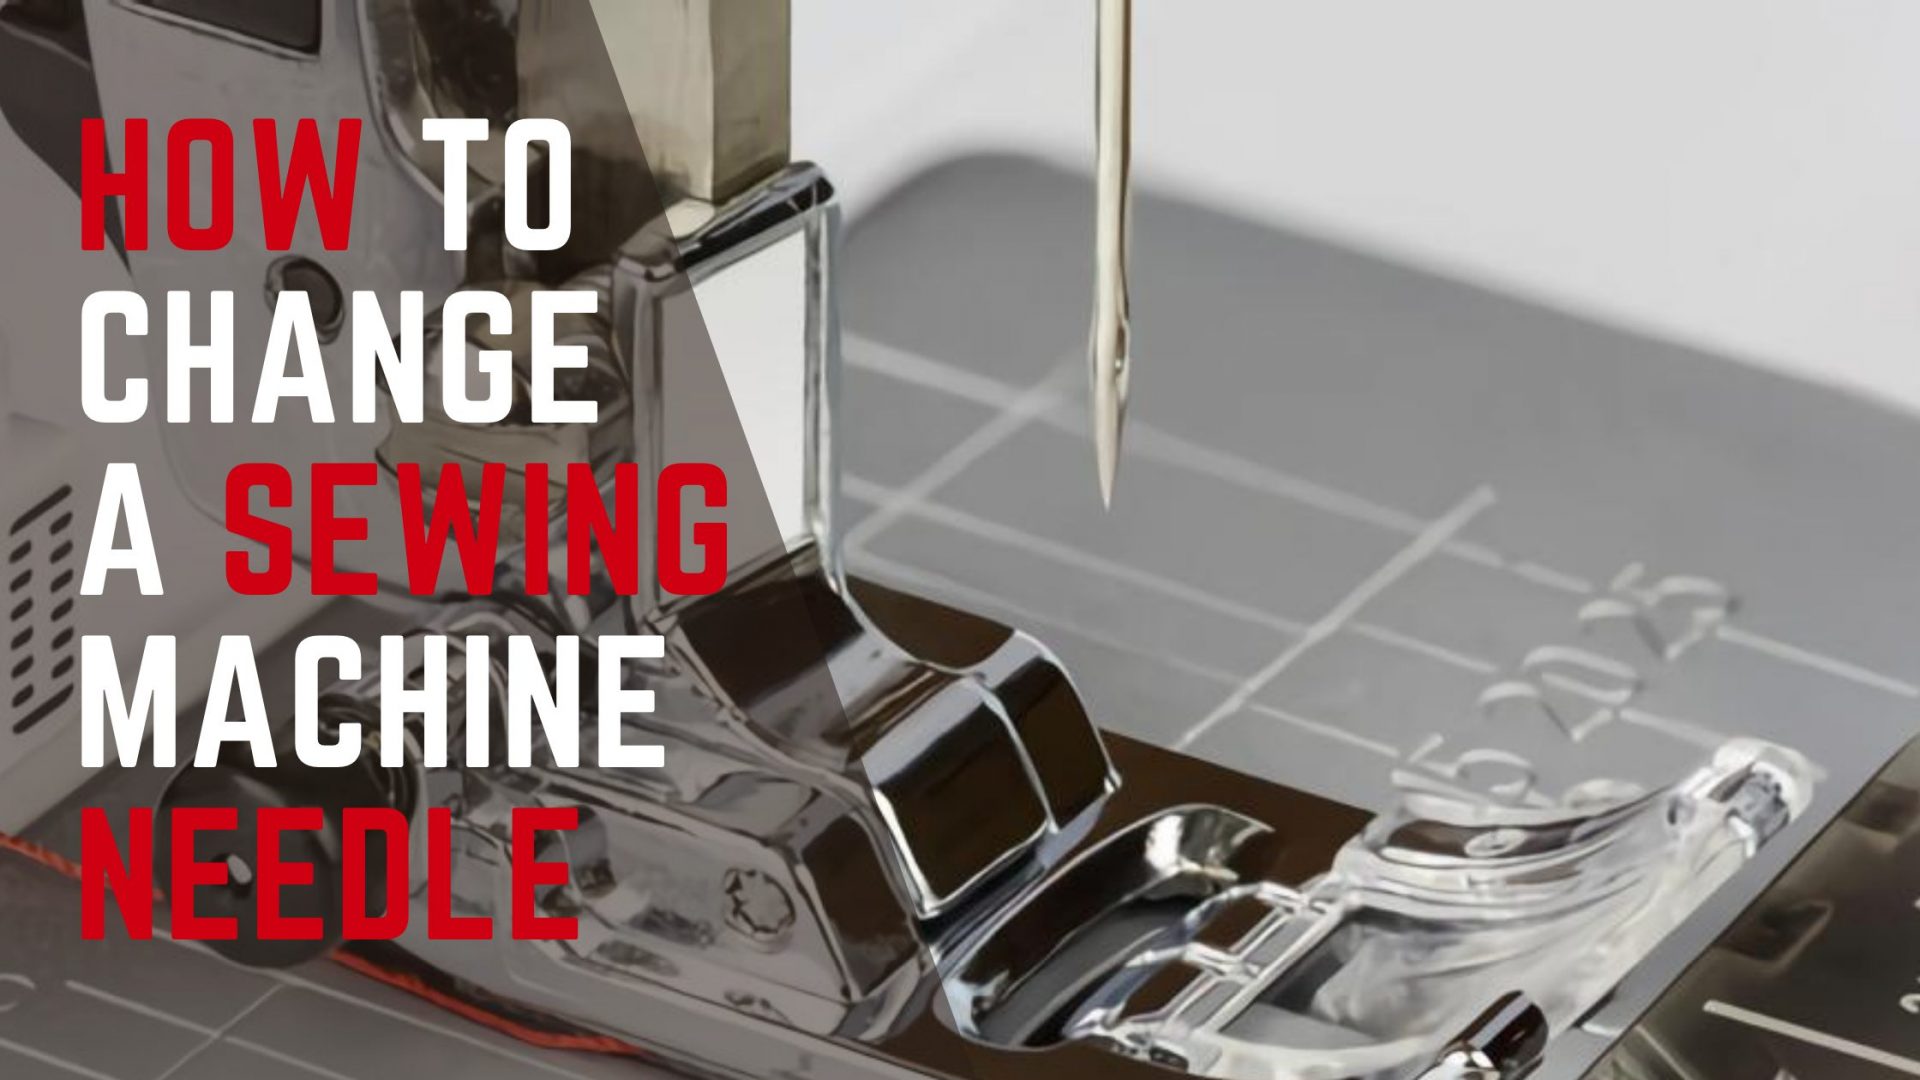
How to Replace Needle in Sewing Machine | Easy Steps
Say goodbye to sewing accidents by changing sewing machine needles regularly. This task may seem intimidating at first, but it is a critical sewing technique to master. Broken threads, missed or irregular stitches, and even wrinkled or damaged fabrics are all results of not changing your needle.
Sewing machine needles are available in a variety of package designs. If you want your machine to perform properly, you’ll need to get the right needle and regular maintenance for it. When it comes to machine needles, you get what you pay for. Every sewing machine brands have their own different types of needles. For example, in handheld sewing machine you cannot put serger machines needle.
There are numerous sorts of needles for various textiles and choosing the proper needle for the project is just as crucial as choosing the right material. We have to change sewing machine needle whenever switch between fabrics and this guide shows how to do it.
For more in-depth information and guidance for sewing machines and tips, you can check stitchingnerd.com.
How to Put Needle in Sewing Machine
Needles for sewing machines are not a one-time buy. Sewing machine needles should be replaced every 8 hours of uninterrupted stitching and with each major project or cloth. The needle must be appropriate for the fabric. If you want to sew thick fabric like leather, denim or canvas then you must have to use appropriate Leather Sewing Machine and must change needle after intervals.
Most of the needles are usually generic for most household machines, but it’s always a good idea to double-check your manual to be sure you pick the proper one. The higher the needle number, the larger and thicker the needle is in practice.
You can follow the steps below to change any basic needle easily:
- The first and most important step is to get rid of the needle. To do so, first, place the needle’s head in the little hole of the needle insertion instrument.
- Pull it up and over the needle.
- Next, begin loosening the needle screw with your screwdriver.
- Using your hands, remove the screw until it falls out.
Once the Needle has been removed, now you can replace it with a new one by following these steps.
- To begin, place your needle in the needle placement tool’s hole and press it as far as it will go.
- Then, using your finger, compress the space.
- After that, turn your screwdriver a quarter of around.
- Disconnect the tool from your needle at the end, and you are good to go.
When changing your needle, there are a few things to keep in mind.
- You’ll need a needle insertion device to avoid losing your needle at the machine’s foundation.
- On the base, some sewers add a little piece of paper. If you spill your needle, this prevents it from sliding down into the machine.
- When the procedure is done, the flat space on the needle must be pushed back.
- If you can feel the groove in the front of the needle, it was successfully inserted, and you can continue creating the best silhouettes with your sewing machine.
How to Change Singer Sewing Machine Needle
If you really want your machine to perform well, you’ll need to get the right needle for it. Singer needles, for instance, should only be used in Singer machines.
Because the needles are somewhat longer than regular machine needles, they will not produce a stitch accurately in a non-singer device. Singer manuals have recommended the following steps to change a sewing machine needle.
- The first step is to switch off your sewing machine carefully. To replace the needle, you do not need electricity. It’s also secure because you can’t hurt your fingers accidentally when the power is turned off.
- The next step is to raise the presser foot place a piece of paper underneath it. This will seal the gap in the needle plate, preventing your needle from falling into the machine—lower the presser foot at the end of this step.
- Elevate the needle by moving the handwheel near you in the next stage. The wheel’s sign should correspond to the machine’s mark.
- Then, loosen the needle screw by rotating it counterclockwise. With your left hand, grasp the needle. Turn the needle screw near you with your right hand.
- To do this, use the tiny screwdriver that was provided with your machine.
- If you’re using a previously used needle, make sure it’s in good working order. With the flat side towards the machine’s back, insert a new needle. A flat side and a curved side will be on the tip of your needle.
- Finally, spin the needle screw clockwise to tighten it. Ensure that the screw is adequately tight with your screwdriver. You can have trouble with the screw next time, causing harm to your machine.
How to Change Brother Sewing Machine Needle
Brother has provided extensive guidelines on their website and instruction manual on how a needle can be changed or replaced on any of the models with ease. Just follow the steps given below and you are good to go.
- As mentioned before, always switch off the machine before changing the needle as a first step. Consequently, if the foot controller is unintentionally pressed and the machine starts stitching, accidents may arise.
- Rotate the handwheel towards you or push the Needle Position Button, depending on the version, to elevate the needle so that the wheel’s marking points up.
- Insert fabric or paper underneath the presser foot before reinstalling the needle to keep it from dropping into the needle plate opening.
- To withdraw the needle, hold it in your left hand and twist the needle clamp screw counterclockwise with an oblong or disc-shaped screwdriver.
- Carefully insert the needle until it hits the needle stopper, with the flat side of the needle facing the machine’s base.
- Using an oval screwdriver, adjust the needle grip.
- If the needle does not hit the stopper and the needle clamp screw is not tightened correctly with an oval screwdriver, the needle may shatter, or the machine may be destroyed.
How to Change Juki Sewing Machine Needle
It takes time and a magnifying glass to replace a Juki industrial sewing machine needle. If you’ve replaced the needle on a standard home sewing machine, you know how important every detail is. However, changing the needle on an industrial sewing machine is perhaps more complicated.
- A long groove is the most crucial thing to check for when inserting a needle into an industrial machine. This needle has two sides to it. On one end, there is a long groove. A short groove can be found on the other edge.
- The next step is to tighten your screw. You initially tighten it by hand, then use a flathead screwdriver to press it even more.
- It’s critical to ensure that the long groove is on the left side. That’s the secret to threading an industrial sewing machine with a needle.
- Tighten it up, and then thread it. Unlike a household machine, you’ll thread an industrial machine by moving from left to right via the eye of the needle.
- After threading the needle, you are good to create the best designs from your creativity on the most challenging materials as well.
FAQs
What is the standard size sewing machine needle?
The standard sewing machine needle size varies depending on American and European sizing systems. The American sizing number goes from 8 to 18, while the European numbers range from 60 to 110. For daily use, you will need a Universal needle size, i.e. 80/12. The lower numbers are for fine tip needles, while the high numbers are for large needles.
The needle size also varies depending on the type of fabric you’re working with. The light fabrics usually need needles with numbers about 9. Heavier fabrics use needles of sizes greater than 14.
How to put a needle in a sewing machine?
Putting a needle in a sewing machine is not challenging task as it seems. But it is more important than people think. According to above-mentioned steps, you need to angle the needle right up and into the screw clamp. Make the flat part is facing the back, and tighten the screw properly.
Do all needles fit all sewing machines?
In most cases, all the needles should fit perfectly in any sewing machine model. However, finding the right needle for the fabric you’re working with is the best decision you could ever make. On th other hand, some industrial machines require special sewing needles made for them. This task may seem overwhelming at first, but you will get used to it with time.
How often should you change your sewing machine needle?
Changing the needles after every 8 hours of consistent sewing or with each new major project makes the sewing less troublesome. If you’re quilting, it is ideal for changing the needles regularly so that your machine lasts longer. Hence, you must always have good quality needles in the storage.
Which way does a sewing machine needle go?
Due to the shank design, you need to understand the correct orientation for the needle to fit in. The shank fits into the needle clamp. Shank is the top part with a rounded front side and a flat backside. The groove of the needle lies outside.
Bottom Line
All in all, whether you choose Brother, Juki, or any other renowned brand for your sewing needs, it is essential to take care of the needles for the best results.
After accomplishing every sewing project, changing the needles makes your stitches stand out and be sharper and more precise. You can be secure and confident the next time you try sewing machine needle placement and removal because now you are aware of how to do it properly, owing to our guide.