
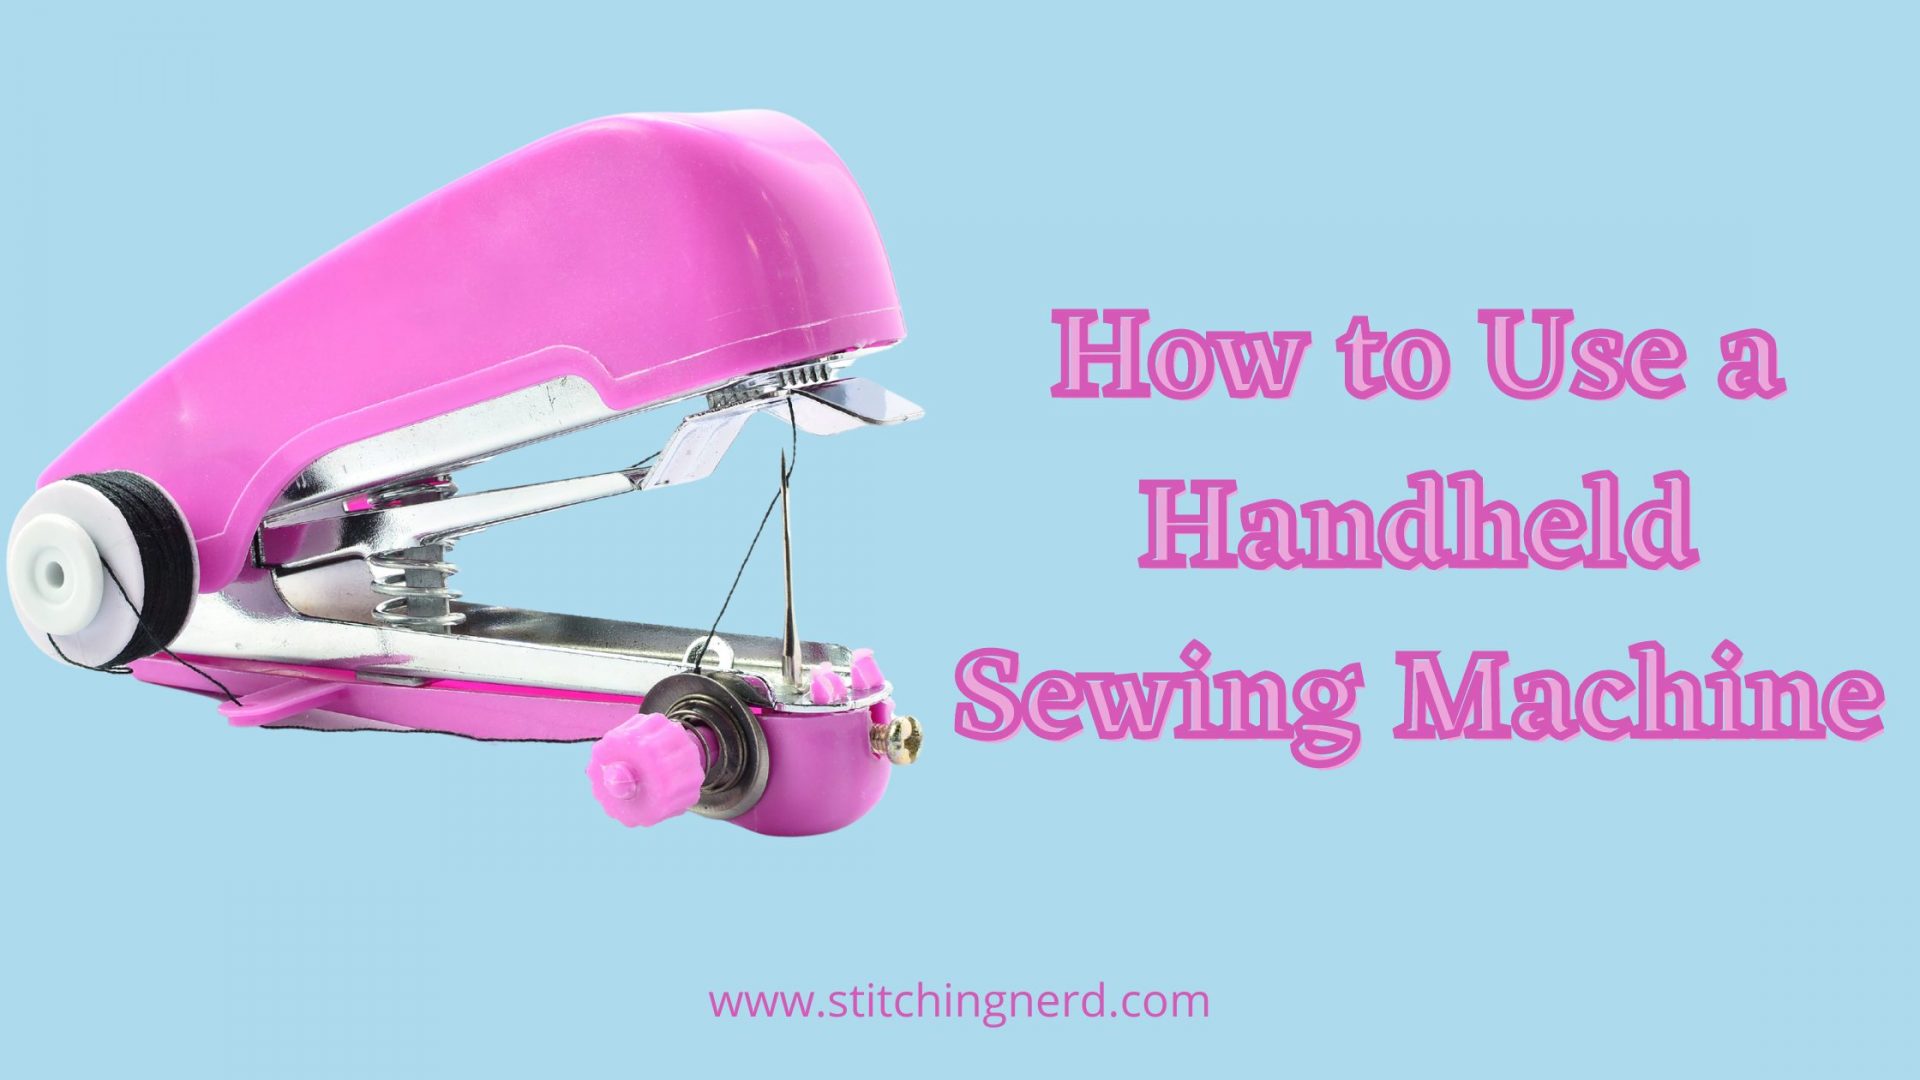
How to Use a Handheld Sewing Machine [Expert’s Tips and Guide]
You have seen many advertisements where a woman is holding a stapler-like machine and sewing the clothes. A handheld sewing machine is a miracle in many terms and easier to use than a heavy-duty handheld sewing machine. However, it would be best to learn how to use a handheld sewing machine to get perfect sewing results.
These handheld manual sewing machines are super portable and inexpensive because they are five to ten times more affordable than traditional ones. They are convenient to use because they do not need any electric socket.
Handheld sewing machines are somewhat tricky to use. If you have practice operating it, it would be best. They are not like regular machines. They are only suitable for kids or stitching at a smaller level. For a perfect finish, you have to knot the thread at the end of stitches.
People prefer a hand sewing machine solely because it is portable. As a result, people continue to use this sewing machine even though the stitching is difficult. For beginner sewers, a tiny sewing machine or a sewing machine under $100 is better.
Handheld Sewing Machine Instructions
A heavy-duty handheld machine can handle layers or piles of fabrics. You want to work with canvas and denim or leather machine; you will be amazed by the operating speed. The best heavy-duty sewing machines are normally more durable and require less maintenance than conventional sewing machines.
A leather sewing machine for beginners is also in demand. The Singer Sew Mate 5400 is a popular leather tailoring machine. It is very easy to use, thanks to its automated systems. It’s also quite light and portable. This leather stitching machine is a must-have for every household.
A quilting machine’s workspace is significantly larger than that of a standard sewing machine. This machine requires a larger work area, the longer the machine and the wider throat. A quilting machine is usually defined as a sewing machine with a throat that measures 9 inches wide and 6 inches high.
Although leather is thick, it is possible to forego the time-consuming hand sewing and instead rely on the convenience of a machine to do the heavy sewing. Alternatively, you can convert your present machine to sew leather by purchasing thick leather needles and can sew leather bags.
How to operate a handheld sewing machine? It is the most asked question. Here is a step-by-step guide for the sewing of clothes with this handheld machine.
Step 1. Loading of Batteries
To begin, insert four AA batteries, or more if required, into your machine. Check the lock system before use. To avoid accidentally turning on the device while threading it, engage the lock. After the device is set up, you can also insert the AA batteries.
At the base of the machine, place the AA batteries. Batteries that are rechargeable do not cost as much as machines, and they are customized to work best for the machine. Using the Handy Stitch power adaptor may allow you to avoid using batteries. You can find it in online stores too.
Step 2. Attaching of Thread
There are three types of thread spools included with the Handy Stitch: a short thread spool, a large thread spool, and a threaded spindle. You can use a regular spool of thread with a bobbin instead of a shorter thread spool.
Keep an eye on the little spring on the spool pin holder to avoid dropping it. If you dump these items on the floor, they will vanish into Never Never Land.
Step 3. Passing the Thread By Thread Guide
There will be an initial thread guide above the thread spool pin. The needle should be inserted from the bottom to the top of the hole.
Step 4. Pass Thread Through Tension Disk
Ensure that the thread passes through both tension discs. Stitch will appear tighter, and you can use this knob if you need to alter the tension at any point afterward.
Step 5. Thread the needle arm’s hook
The most difficult step is the hook under the needle arm that is difficult to reach. You have to thread it.
Step 6. Threading the needle
Make sure you knit the thread tip from the back of the hand to the front while threading the needle. Needle thread that comes with your sewing machine makes this operation easy.
Step 7. Your little handheld sewing machine is now ready to use
Before you sew with this machine, there are a few things you should know about it. On the side, a rotating wheel is placed and allows you to raise and lower the needle with your hand. It can be angled in any direction.
How to Set Up a Handheld Sewing Machine
Setting up of the household machine has a few following steps that are very easy to follow.
- Load 4 AA batteries into your machine.
- Insert a spool pin to attach the thread.
- Pass the thread by the first thread guide.
- Thread the thread through the tension disk.
- Insert the thread through the needle arm hook.
- Thread the needle.
Cleaning of sewing machine is also important. Change your needles regularly, use compressed air to remove dirt, and oil the machine regularly. If deep cleaning, you need experienced professional help.
Machine problems and remedies
Following are some common sewing machine problems and remedies.
Problem Solution
| Blunt or Incorrect needlepoint. | Change the needle. |
Presser foot bounce, Poor fabric control, Reset foot presser.
How to Use Mini Handheld Sewing Machine
It is easy to use a portable mini sewing machine. Follow the given directions for the mini handheld sewing machine below:
Load Batteries
Batteries power the majority of handheld sewing machines. The quantity of batteries required varies depending on the type of machine. However, most of these cells are AA type and must be inserted at the tail end of your sewing machine. After you’ve set it up, you can start the process.
Set up the Bobbin
A bobbin, either constructed of plastic or wood, is the most important part of the thread into the fabric. The bobbin must be secured within the little pin, leading straight to the hook, followed by the guide ring.
Thread the Needle
The thread must pass through the guide. It makes no difference whether the direction the line comes to pass through is backward or forward.
Sew the Fabric
First, unlock the power lock, then press the switch hard. The device will immediately begin sewing. Now use your hand to direct the machine where it should stitch and where it should not.
The sewing direction is one of the most significant differences between a stitching stapler and an automatic sewing machine. The automatic machine operates solely from left to right, whereas the handheld machine works in reverse. As a result, you have to move the machine backward and forwards manually.
Secure the Stitches
Securing the thread is the final step. If you are dealing with cotton or silk fabric, nothing to worry about; stop the power and reposition the plate and do it again.
How to use Mini Portable Sewing Machine
The compact sewing machine can handle various sewing tasks in daily life and is an excellent companion for both home and vacation. Mini portable sewing machines are beneficial as these are lightweight and portable designs. It is easy to use during travel and can be used as a kid sewing machine.
Fabrics, clothing, wool, and other materials can be sewn using the tiny handheld sewing machine. If the material isn’t too heavy or thick, you can still sew it. It’s ideal for stitching small items like baby garments, shopping bags, curtains, an apron, or a wallet. It’s perfect for short repairs and do-it-yourself projects. Furthermore, it is also known as a cheap thick fabric sewing machine.
Note that the sewing cannot be thicker than 1.8mm. Insert 4 AA batteries for direct use, press the button to connect it to the flat edge rapidly, and it will begin stitching. You can use this machine to manufacture your handkerchiefs, patchwork, or handicrafts, and it can handle all of your sewing needs.
Because this is a monofilament sewing machine, you must knot the power cable yourself; else, it will fall somewhere. It has user-friendly settings. The manual sewing machine has four-thread points to set thread; sewing is simple as adjusting the mounting plate and pushing a button.
This is the best gift as a portable sewing machine is user-friendly and can fulfill all your sewing requirements. It is a convenient and practical good thing. Also, the sewing machine cost is affordable.
How to Use Singer Handheld Sewing Machine
Singer handheld sewing machine consistently ranks among the top hand sewing machines. It is convenient to transport or store because it is small and lightweight. The Singer sewing machine is perfect for tiny, quick, and simple repairs to daily household goods.
You may use this tiny battery-operated device on many home items, including beds, curtains, and shirts. Because it is cordless, the user can move freely around one or more tasks.
Instructions
Use the device for 10 seconds, and after that, pause for five seconds while setting up for the first time. Use the machine regularly after that point. Remove test material by lifting the fastening plate. Cut the thread very close to the test material. Follow the steps below.
- Turn off the device and rotate the rotating wheel to adjust the needle arm at an elevated position.
- Lift the fastening plate, being careful not to push the needle arm down. Underneath the latching plate, place a cloth. A fastening plate should be released.
- Before beginning to sew, thread the needle with two inches of thread from back to front.
- Hold the stitch with your hand. Press the On/Off Switch while other fingers support the bottom of the device
- Turn on the device by pushing the On/Off button forward. Hold the cloth with your left hand and control the direction, and speed up the device.
- After sewing, uplift the needle arm as high as possible by the rotary wheel, then use a scissor to pull the thread out about 3 inches. Cut thread.
- After lowering the needle into the cloth, continue to turn the rotary wheel until the needle arm is back at its highest position.
- To remove the cloth, move the fastening plate upward.
In this way, you can sew your clothes with ease and in less time. It is cost-effective and easy to use.
How to Use Sunbeam Handheld Sewing Machine
The Sunbeam portable sewing machine is cordless, small, and lightweight. It’s perfect for repairing small items. Beginners can do use it conveniently along with specialists. It is ideal for on-the-go little repairs.
Insert/Replace Batteries
Before replacing the battery, make sure the machine is locked. To open the compartment, use your thumb to press down and push toward the arrow. In the battery box, put four AA batteries.
Directions to use
Check to see that the machine is locked. Turn the rotating wheel to ensure that the needle arm is at the highest point. Lift the fastening plate, being careful not to push the needle arm down. Even when the machine is locked, you can manually handle the component. Underneath the fastening plate, place the fabric to be sewn. Two inches of thread should be threaded through the needle.
With your right hand, support the bottom of the sewing machine and use your thumb to operate the power switch. It would be best to unlock the sewing machine before using it. With your right thumb, depress the power switch. The fabric/cloth will be sewn to the left by the machine automatically. Control the direction of the fabric with your left hand (do not rush the device).
When you need bigger stitches, pull the fabric to the left a little more while sewing. To ensure straight stitching, use the middle line on the cloth. Turn the rotary wheel to the highest position and elevate the needle arm to complete the seam. Cut the thread with the scissor after pulling it out about three inches.
Rotate the rotary wheel to lower the needle into the cloth. Once the needle arm reaches its highest point, continue turning the rotary wheel. Then uplift the fastening plate, draw left the fabric, and be careful to pull the thread out of the seam, as this will loosen the seam.
Thread the needle through the last stitch first. Thread the threader with the 3-inch thread you set aside. Pull out approximately 1/4 of an inch. By guiding the thread through the loop, tighten the knot.
Before installing the bobbin, the spring must be in position. The thread should flow from the upper right side of the bobbin or spool. Thread the needle arm’s eyelet with the thread. Pass thread by the tension control, but not fully around it and needle eye from the back.
Remove the bobbin by loosening the bobbin nut and pulling it out. Extend the spindle by sliding the thread spool onto it. On the bobbin shaft, attach the extension spindle.
To replace machine needle, loosen the set screw with a screwdriver and insert the new one. The needle shank with a flat side should face the front of the handheld sewing machine when installing the needle.
Wrapping Up!
What is the best handheld sewing machine? It can be challenging to choose one and to learn how to use a sewing machine. Like many people, don’t get confused about a mini sewing machine and a handheld sewing machine. A handheld sewing machine is a good option for everyday use and little repairs.
Because of its portability, it can give you protection from embarrassment caused by cloth tearing. But this machine is not always suitable for any big sewing projects. However, you can use mini portable machines for daily purposes.
![How to Fix Sewing Machine Stuck Handwheel [Expert’s Tips and Guide]](https://stitchingnerd.com/wp-content/uploads/2022/01/How-to-Fix-Sewing-Machine-Handwheel-1-768x432.jpg)

![Can You Iron On Patches to Leather? [Find Out]](https://stitchingnerd.com/wp-content/uploads/2021/11/Can-You-Iron-On-Patches-to-Leather-768x432.jpg)