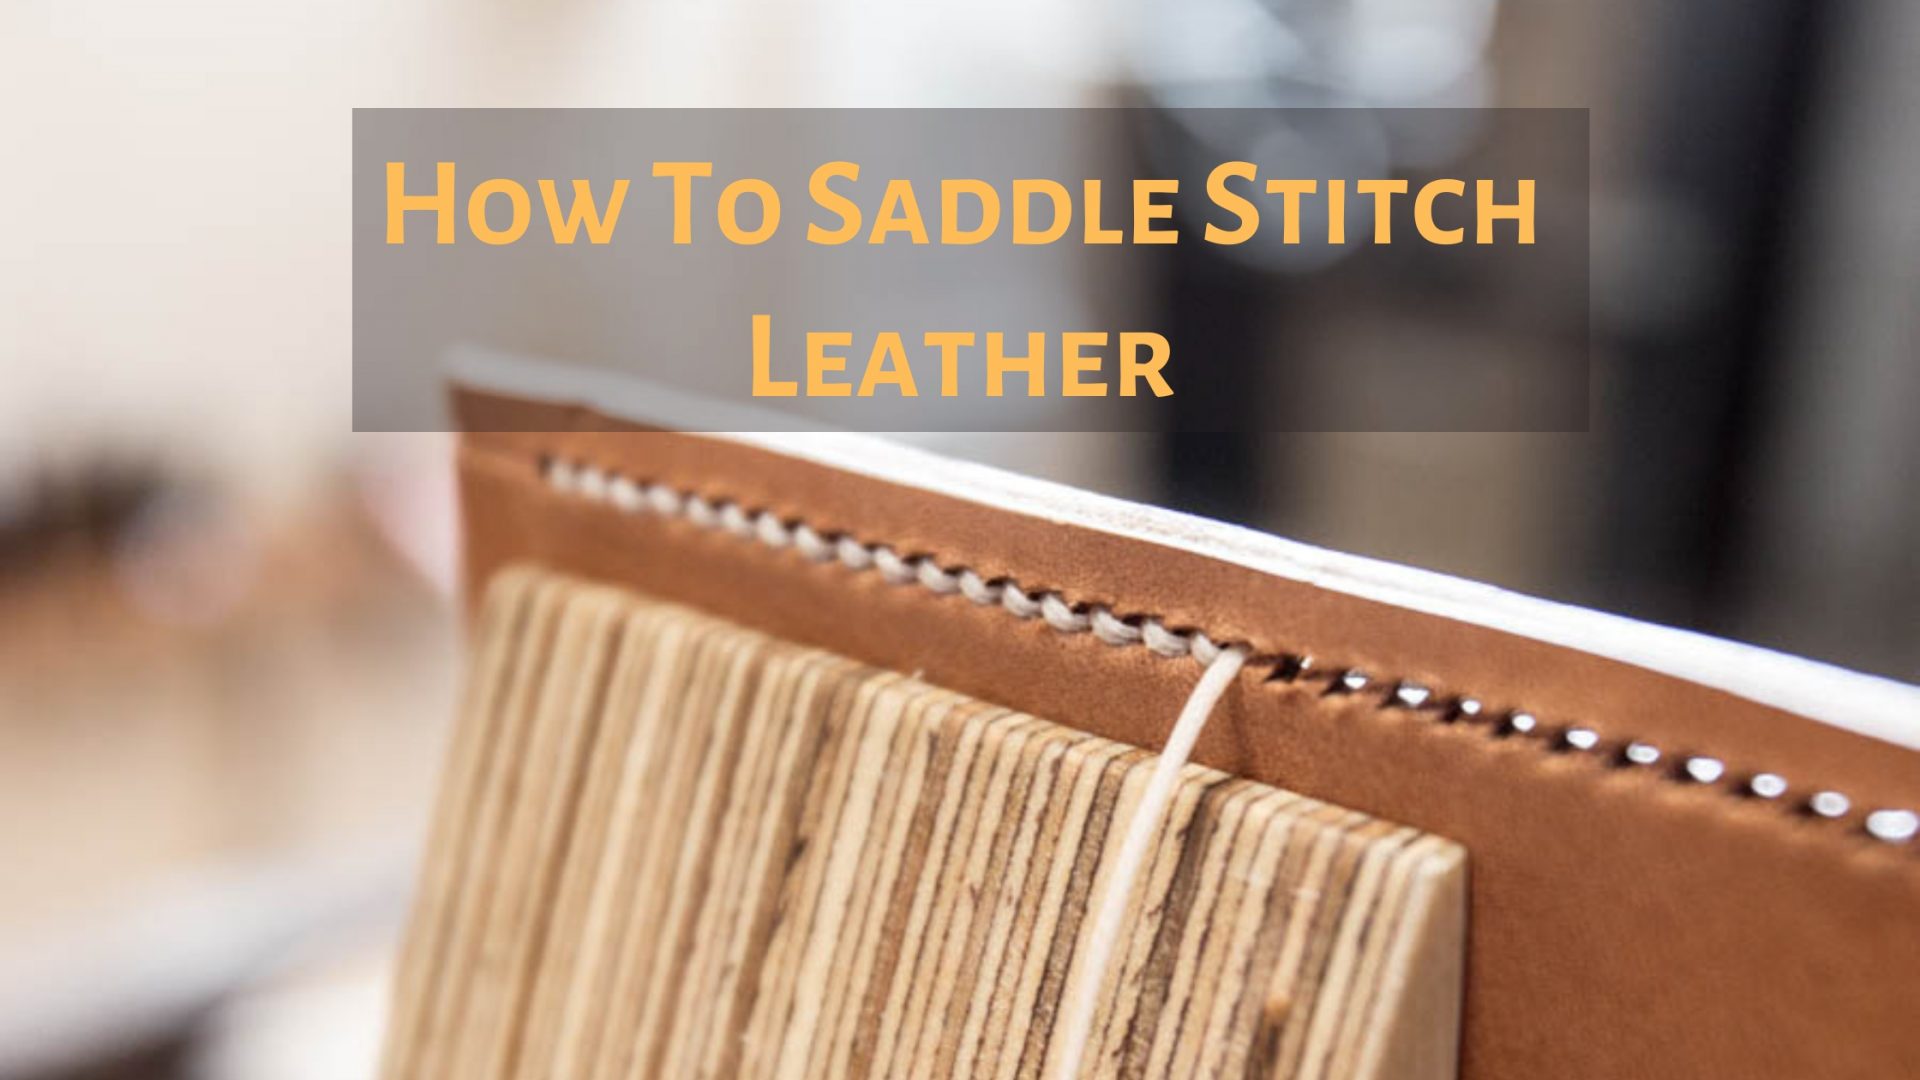
7 Simple Steps To Saddle Stitch Leather Like A Pro !
By following the right method and practice you can learn how to saddle stitch leather. Although saddle stitching requires patience, it is a basic activity once you know all the steps involved in it. Most importantly, to achieve neatness in work, save time and get strong stitches you need to possess the right kind of apparatus.
Saddle stitching, though time-consuming, is a commonly used method of stitching. The stitches produced as a result of this method are stronger than those produced through a machine. The best part about it is that even if one side of a saddle stitch breaks, but the other end is fine and attached, the stitch won’t break as a whole.
Mostly, people assume that this method of leather stitching is difficult, but trust me it’s not that difficult. And it surely gives satisfying end results. For some, it might be a slow process but there are some people who find saddle stitching soothing. You might become a part of those “some”.
Must have a look at our top recommendations for the best heavy-duty leather sewing machine, and the best serger sewing machine.
Gadgets You Will Need:
- A piece of leather
- A sharp scissor or knife
- Two needles
- Waxed thread
- A punching machine, awl, or groover
- A stitching pony
Time: 40 Mins Skill: Intermediate
Step by Step Guide to Saddle Stitch Leather
1. Make Holes In The Leather
Make holes in your piece of leather so that you can easily pass needles through these whilst making stitches. This step is important to follow on those leather pieces that will face rubbing/friction which will probably spoil the stitches. Otherwise, you can simply stamp the spots on leather pieces and then make stitches on these marks/stamps. This is widely done with the help of the wing divider.
2. Amount Of Thread Required
People are often puzzled about what length of thread they should use for a particular project. Well, there is no single-word answer to it, but most expert sewers say that one should use thread 3 to 4 times more than the piece of thread. You can just roughly get this much length of thread and move on to the next step.
3. Threading
We use 2 needles for this method of stitching. Pass one end of the thread through the eye of one needle, and pass a minimum of one inch of the thread.
A thread is made of numerous individual weak threads. Our next step is to create a round through it. For this take the end of the needle and punch it through the thread that we passed through the eye of the needle. Once achieved, pass the other end(the free one) through the newly created hoop.
Lastly, tie a knot opposite to the needle’s eye.
4. Stitching Pony
You can stitch the leather by grasping it in your hands however, if you place it in the stitching pony it will make things way easier for you.
5. Making The Stitch
Pass one of the needles through one of the holes that you punched. Now, lift both needles up and make sure there is an equal amount of thread on both sides of the leather. At this spot, you have one needle in your left hand and one in your right hand.
Be mindful when you are making the first stitch and which hand you are using. Because in saddle stitching it is important that you follow the same pattern for all the stitches that you used for the very first stitch.
Now, using your left hand, pass the needle through the succeeding whole and then move the thread in the direction opposite to you. Next, hold the needle in your right hand and pass the thread again through the same whole. The mechanism will remain the same.
To make the stitch look neat and smooth, never put the 2nd needle in front of the first thread, rather put it at the back of it.
Once you have followed these 2 steps for a hole, pull the thread with strength.
Keep following the same mechanism to stitch the whole piece of leather. If you use your right-hand first and your left hand afterward, that’s fine too. But remember to follow this pattern throughout the exercise.
6. Finishing
Follow the following instructions when you are going to make the last stitch or your thread is about to finish.
For the last stitch, we will do back stitching to stop the stitch from opening. To ensure that the stitch does not open we will make the back stitch not one the last one but the last three to four stitches.
To make it easier and clearer, consider right now your left needle is in the 10th hole, pass this needle through the 9th hole. Do the same for your right-hand needle.
It can be a little puzzling but if you are using a stitching pony then it will not be puzzling for you. The thread should be pulled with strength if not so, the back stitches will appear significantly bigger than the other stitches which will not make it look good.
7. Cutting Thread
Use a sharp knife or scissors and cut the thread. After cutting the thread you might notice that the point from where it is cut is a little raised. You can level it by putting pressure on it with the help of your thumb.
FAQ’s
What page count is best for saddle stitch?
Saddle-stitch is a popular method for binding booklets. Saddle-stitched booklets are constructed from folded pages, so one must use multiples of four when naming the pages. Magazines with fewer than 48 pages are saddle stitched, while those with more than 96 pages use perfect binding.
What is the difference between perfect bound and saddle stitch?
Both are the same in the sense that they are used for the same purpose i.e. binding magazines. The major difference is in saddle stitching papers are folded; however, for perfect bound, it’s not the case. Moreover, Saddle is suitable for pamphlets whereas soft cover books are glued through perfect binding.
How much does a saddle stitch cost?
Typically, the saddle stitch is cheap as compared to a perfect bind. Depending on how many pages you order, the price may vary. Usually, it will cost you around 20 cents for one book or $150 for 6000 copies.
Wrapping Up!
This all-inclusive article on how to saddle stitch leather must have helped you with all your queries. You can excel in saddle stitching if you stick to the instructions given above. Becoming a pro of saddle stitching might take some time, so you have to show patience during this journey.
Make sure everything you are using is high-quality because it will have a huge impact on the end product that you will produce.


![How To Finish a Stitch On a Sewing Machine [Expert’s Tips and Guide]](https://stitchingnerd.com/wp-content/uploads/2022/01/How-to-End-a-Stitch-on-a-Sewing-Machine-768x432.jpg)


