
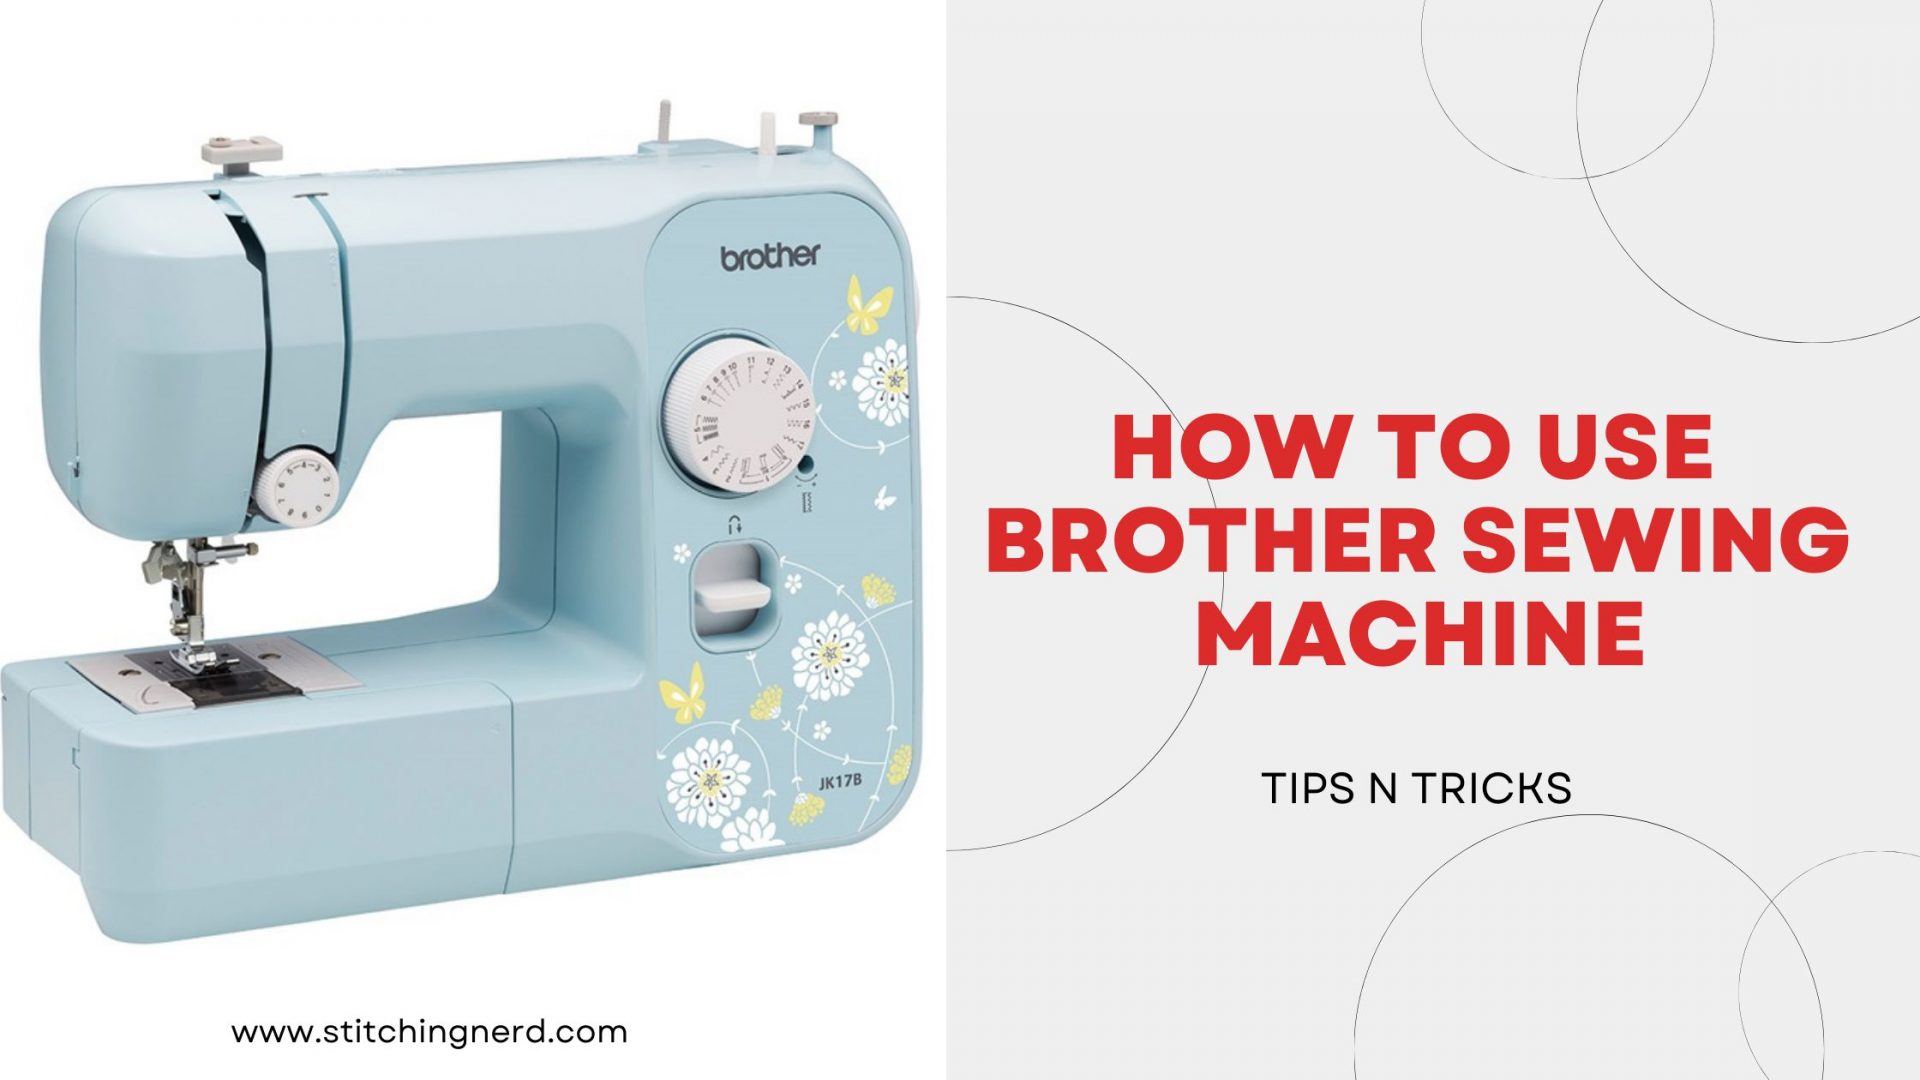
How To Use Brother Sewing Machine | Expert’s Tips & Guide
Brother sewing machines are popular amongst beginners as well as the masters of stitching. This is because Brother offers numerous options so that everybody can pick up a machine that suits him/her the most. Their basic models are user and budget friendly and are equipped with functions adequate for a beginner. Whereas, the exclusive models can be a little tricky to understand. These models are loaded with a variety of functions and have diverse types of stitches to offer.
It doesn’t matter what type of model you are using – basic or high-end – there are certain principles that remain the same. The primary thing that users should know about is simple stitching. Therefore, if you are curious to know “How to use a brother sewing machine” then this article is going to be beneficial for you, regardless of which model you are using or plan to use.
Believe it or not, using a brother sewing machine is much easier than you think. Like anything else, you have to put in some effort initially and with course of time everything will become simpler. To make things convenient for you, we have written every instruction in simple words. So, read them all carefully and you are in business.
So let this journey of knowing all you want to about a brother’s sewing machines begin.
How To Set Up A Brother Sewing Machine?
The first thing anyone should do is to go through the manual of the machine. Reading manuals is important for both, beginners as well as experienced users. It will help you get a better grasp on various parts of the machine and their exact location. This manual is present inside the box in which the machine comes in. By chance, if you have lost the manual or are using a preloved machine then you should get the online version of the manual.
Brand new machines come with several accessories. So, before setting up the machine, it is crucial to see if your machine’s accessories are complete. Some of these include spare bobbins, buttonhole foot, zigzag foot, spare needles, zipper , etc. If you do not have complete accessories (those mentioned on box or manual) then contact the customer support service of the company.
Once done with this next step is to link the foot controller to the machine. For this, fit the connector on the right side of the sewing machine. There will be an electrical power supplier switch, fit this into an outlet.
Now, when the machine is powered on and if you stitch something, the lamp of the machine will light up.
How To Thread A Brother Sewing Machine for Beginners?
Before threading the sewing machine remember to switch it off. Rotate the wheel in the left direction or the anticlockwise of the machine to shift the needle upwards. Next, lift the presser foot.
To ensure that the needle is where it should be, see if the mark on the machine is aligned with the line on the wheel’s edge. If yes, then you are ready to move ahead.
You’ll be able to see a silver metal piece on the upper part of the machine. It is L in shape. Move the thread across this, begin from behind and approach towards the forward direction. Numbers are written on the machine along with the arrows that indicate in a particular direction. Follow this number guide to move the thread. Manuals can also help in threading the sewing machine.
The number guide will indicate that after passing thread across the upper part, you should move it downwards and pass it through the tension discs. To get an idea, think of it as if you are forming a U shape from the movement of thread.
Now by following the guide, you will reach the top left of the machine. Here you’ll see a thread take-up lever, it is basically a hook, silver in color. Its position is right above the needle base. Move the thread into this part. Envelop the lever with thread to move the thread.
Moving on, take the thread towards the eye of the needle and move it out of the needle by some inches. Put it under and then at the presser ‘s back.
How To Put A Bobbin In A Brother Sewing Machine?
While inserting the bobbin you should follow the same instruction as for threading the sewing machine i.e. switching off the machine, lifting the presser foot and needle upwards.
Bobbin is a ring sort of part around which the thread is wrapped. The bobbin is first fitted into a bobbin holder or case and then it is inserted in the lower part portion of the machine. Inserting the bobbin is significant because a machine cannot make stitches without it. While sewing, bobbin interlink the bottom thread with the present upper portion of the machine. In this way a joint is created.
The way in which a bobbin is inserted will possibly differ from model to model for brother sewing machines. However, one thing stands still and that is it will be put in the lower part. In most cases, this portion is located beneath the sliding door. You can take help from the photos present on the booklet of the machine.
The step we just talked about is arguably the most significant one when it comes to how to set up a brother sewing machine.
Additional Tip
Some inches of the thread should be left prior to stitching. By the help of the manual needle control, move the needle up and down for one time. Its benefit is that it will give you 2 free ends of thread around the presser foot. Since, this movement of the needle will move the bobbin thread upwards along with the needle thread. In case you don’t know the location of the manual needle controller, it is present at the back side of the machine.
Wrapping The Thread Around Bobbin
If the thread is not already wrapped around the bobbin that you are going to use then you’ll have to do it first before inserting. Because obviously inserting an empty bobbin is of no use.
For this purpose, put the thread spool on the spool pin. To retain them on the spot use a holder.
Envelope the thread across holders. These holders are present in the upper portion of the machine. This will interwean the free side of the thread to the pin present on the right side of the upper portion of the machine. Put the bobbin at this spot. Thread the free side from a jole present in the bobbin and all over the center for approximately 2 times.
Next step is to move the bobbin pin towards the right side. Fix it over there. Now, the sewing machine is in the bobbin mode.
The last step, press the pedal for 60 seconds and watch the magic happen. The sewing machine will load the bobbin with thread.
Follow the same instructions if you want to change the thread and wind the one whose color like the color of your fabric.
How To Adjust The Bobbin Tension On A Brother Sewing Machine?
Before you start adjusting the bobbin tension there are certain things that you should follow, which includes:
- Extract the bobbin from the bobbin holder or bobbin case.
- Altering the + screw can possibly spoil the bobbin case and make it unsteady. Hence, you should not try to adjust it.
- To preserve correct tension do not apply force on the – screw if it is not showing movement. Applying force either in clockwise or counterclockwise direction will spoil the bobbin holder.
Now, let’s see how to adjust the bobbin tension in detail.
To regulate the bobbin tension rotate the negative (-) screw with the help of a miniature screwdriver. While doing this remember not to turn the positive (+) screw. If the upper thread is showing itself a bit on the incorrect side of cloth, it means that the thread tension is regulated.
In the other scenario, the bobbin thread appears on the exact spot on fabric where it should be and the upper thread appears to be twisting on the right hand side of the fabric. If you are encountering the same, rotate the negative screw in anticlockwise direction. Take care that you don’t lose it more than the requirement. Rotating the screw for roughly 30 to 45 degrees is enough to get the job done.
Another possibility is that the bobbin thread emerges to be on the right side of your fabric. In such a situation, you need to rotate the slotted-head (-) screw in clockwise direction. Ensure that you do not rotate it excessively because it will lead to over-tightening of the screw. A rotation of around 30 to 45 degrees will be adequate to boost the tension.
Ready To Sew
Turn the machine on by plugging the switch back in the power supply board. To start sewing, you should select the straight stitch through the selector dial present on the machine. Move the needle up through the wheel. The pressure foot should be lifted up as well. Put the fabric on the machine bed. Decrease the foot pressure. Use your left hand to grasp the thread and fabric whilst you are lowering the needle manually. Now to sew, use the foot controller.
How To A Oil Brother Sewing Machine
Some people might regard this step unimportant, however the reality is that this step is as important as any other step during the exploration of how to use a brother sewing machine.
Oiling the sewing machine holds importance because of several reasons. It becomes even more important if you have too many projects to work on. Oiling makes sure that every part of the machine is moving perfectly as it reduces the unnecessary friction. Moreover, it ward off the chances of rusting. In short, oiling is imperative for proper functioning and hence, long life of machines.
To oil the machine, first switch it off. Use a small screwdriver to lose the needle plate. Move the faceplate under which the bobbin case is present. Leave 2 to 3 drops of oil beneath the needle (in the mechanism). Also, a mechanism is located below the mat, put the 2 to 3 drops of oil there as well.
By using a screwdriver lose the screws that are present around the thread guides and take-up lever. Rotate the handwheel counterclockwise in order to see the way each part operates. Put 2 drops on the pole which goes downward and upward. Put oil on the visible parts as well.
Now when there is no thread in the machine, switch it on and run it at a fast speed for 60 seconds. If there is any extra oil in the machine it will be expelled out. Use a clean piece of cloth to wipe away this extra oil.
Additional Note
If you use the machine for some time during a day then the oiling should be done once a day. But if you use it for a very long time in a day then it is important to oil it on a daily basis. To oil your sewing machine, make sure you use a special oil made for sewing machines.
How To Use A Computerized Brother Sewing Machine
For a computerized brother sewing machine, many of the things are similar to that of a manual machine. The major difference comes in the form of touch screen display present in the computerized machines.
In a computerized machine, the user picks up the stitch style, its length and width through a touchscreen. The tension can also be altered through this.
The ultra-modern models provide the facility of connecting the machine to a desktop. This allows the user to import a variety of softwares to make innovative designs and embroidery motifs.
FAQ’s
Can I teach myself to use a sewing machine?
Yes, it is absolutely possible to teach yourself how to use a sewing machine. Focus on the beginner steps. In addition, use a basic model because they are easy to understand and operate. Take simple steps projects first and gradually move towards challenging projects.
What tension should my brother sewing machine be set at?
The tension of a brother sewing machine should be somewhere within the range of 2 to 6. If the upper thread can be seen on the backside of the fabric it means that the thread tension is alright. Otherwise, you can rotate the screws to set it at the desired point.
What needles do I need for a Brother sewing machine?
Almost all the SCHMETZ Sewing machine needles are suitable for Brother Household Sewing machines. However, the most famous for the brother machines are chrome, leather, quilting, embroidery, and universal.
Wrapping Up!
Now you must be clear on how to use a brother sewing machine. These instructions are very easy to follow once completely understood. In the beginning you should practice simple stitching because like anything else, you need to practice regularly to become a pro at using a machine. Once you are clear on using different features of machines then you can easily switch to diverse stitching styles.
![How to Fix Sewing Machine Stuck Handwheel [Expert’s Tips and Guide]](https://stitchingnerd.com/wp-content/uploads/2022/01/How-to-Fix-Sewing-Machine-Handwheel-1-768x432.jpg)
![How to Use a Handheld Sewing Machine [Expert’s Tips and Guide]](https://stitchingnerd.com/wp-content/uploads/2021/10/How-to-Use-a-Handheld-Sewing-Machine-768x432.jpg)
![How to Use Speedy Stitcher [Expert’s Tips and Guide]](https://stitchingnerd.com/wp-content/uploads/2021/12/How-to-Use-Speedy-Stitcher-768x432.jpg)